Installing and running GOPHER
Requirements
GOPHER needs Java 17 or newer to build from source. You can determine what version of Java you have on your computer by entering the following command.
$ java -version
  java version "17.0.1" 2021-10-19 LTS
  Java(TM) SE Runtime Environment (build 17.0.1+12-LTS-39)
  Java HotSpot(TM) 64-Bit Server VM (build 17.0.1+12-LTS-39, mixed mode, sharing)
Using the pre-built GOPHER app
Most users should install the prebuilt application called GOPHER.jar that is available in the Releases section of
the GOPHER GitHub repository: https://github.com/TheJacksonLaboratory/GOPHER/releases/.
Versions are available for different operating systems and can be installed as usual.
We additionally supply an executable jar file that can be run on systems with Java 17 or newer. You should be able to
start GOPHER by double clicking on the GOPHER.jar.
Alternatively, you can start GOPHER.jar from the shell with the following command.
$ java -jar GOPHER.jar
Note: if you receive an OutOfMemoryError allow more memory to be allocated for Java heap using -Xmx option, e.g.:
java -Xmx8g -jar GOPHER.jar
Building GOPHER from source
It is also possible to build the GOPHER application from source. The source code for GOPHER is available from the GOPHER GitHub page.
$ git clone https://github.com/TheJacksonLaboratory/Gopher
GOPHER used the maven build system. To build the App simply enter the following command.
$ mvn package
This will create the GOPHER.jar app in the target subdirectory.
Running GOPHER
Assuming you have built or downloaded the GOPHER.jar file, it is simple to start the program. Enter
$ java -jar GOPHER.jar
or double-click on the file. You will see the following dialog. This dialog allows users to open a previously created project or to start a new one.
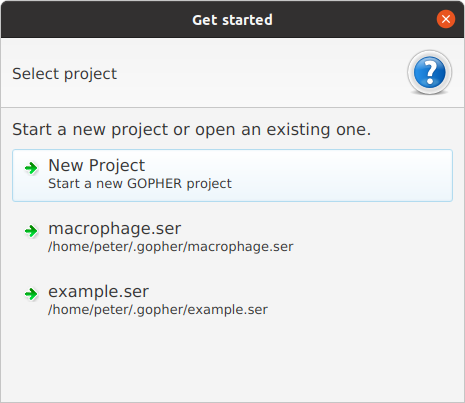
If you click on the New project button, you can enter the desired name of the project and begin work.
Note that GOPHER stores projects files in a directory in the home directory: gopher