Navigation
How to move around an image: zooming, panning, the minimap, the scale bar, the right-click menu, and saving what you see.
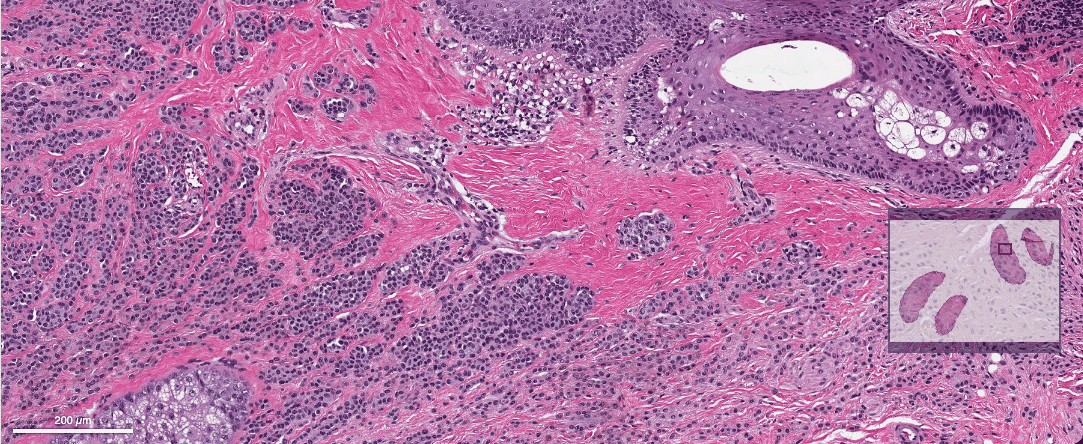
Image view
The Image view loads only the tiles needed for the current zoom, so even gigapixel whole-slide images open quickly.
| Action | How |
|---|---|
| Pan | Drag the image (no tool active, or Pan P). |
| Zoom with the mouse | Scroll the wheel or trackpad. Zoom follows the pointer. |
| Click to zoom | Click the image to zoom in toward the clicked point. Disabled while a region tool is active, and in the Spatial omics views. |
| Zoom one step | Zoom in / Zoom out buttons, or + / - (×1.3 about the centre). |
| Zoom to an area | Zoom box B, then drag a box. |
| See the whole image | Fit to view . |
Limits: you can zoom out until the image is about 1% of the view, and zoom in until one image pixel covers 20 screen pixels.
When the image loads, a low-resolution preview may show first, with Sharpening preview... until the full-resolution tiles arrive. Moving between slices of a stack keeps your zoom and position.
Zoom box
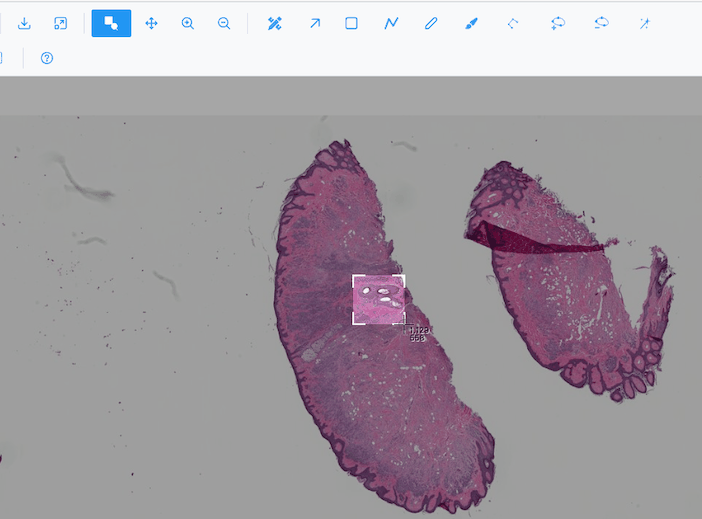
Press B (or click Zoom box) and drag a rectangle: the area outside it is dimmed. Release to zoom to the box. A drag shorter than 5 pixels is ignored. The tool stays active, so you can zoom again; press B or pick another tool to stop.
Minimap
The minimap at the bottom right shows the whole image, with a red rectangle for the area in view. It resizes with the viewer. The host application can hide it.
Scale bar
The scale bar at the bottom left shows a round length (1, 2 or 5 × a power of ten) in µm, switching to mm as you zoom out. It updates as you zoom. It appears only when the image carries its physical pixel size; images without one have no scale bar, and region areas are given in px².
Pixels or smooth
By default the Image view shows raw pixels: zoomed in, each pixel is a crisp block, so you can inspect
values. Turn on Smoothen  for bilinear smoothing. The setting
stays while you switch images.
Heatmap and Contour views
| Action | How |
|---|---|
| Zoom to an area | Zoom drag or Zoom box B, then drag. |
| Zoom one step | Buttons, + / -, or the mouse wheel (one step per wheel notch, about the centre). |
| Pan | Pan P, then drag. |
| See the whole image | Fit to view, or Autoscale in the right-click menu. |
After each zoom, in single-image mode, the visible area is re-fetched at screen resolution (high-definition zoom). A brief Caching image... message may show the first time.
Trackpads
In the Heatmap and Contour views each wheel event is a full zoom step, so a trackpad scroll can zoom very fast. Use the zoom buttons or the zoom box for fine control.
Right-click menu
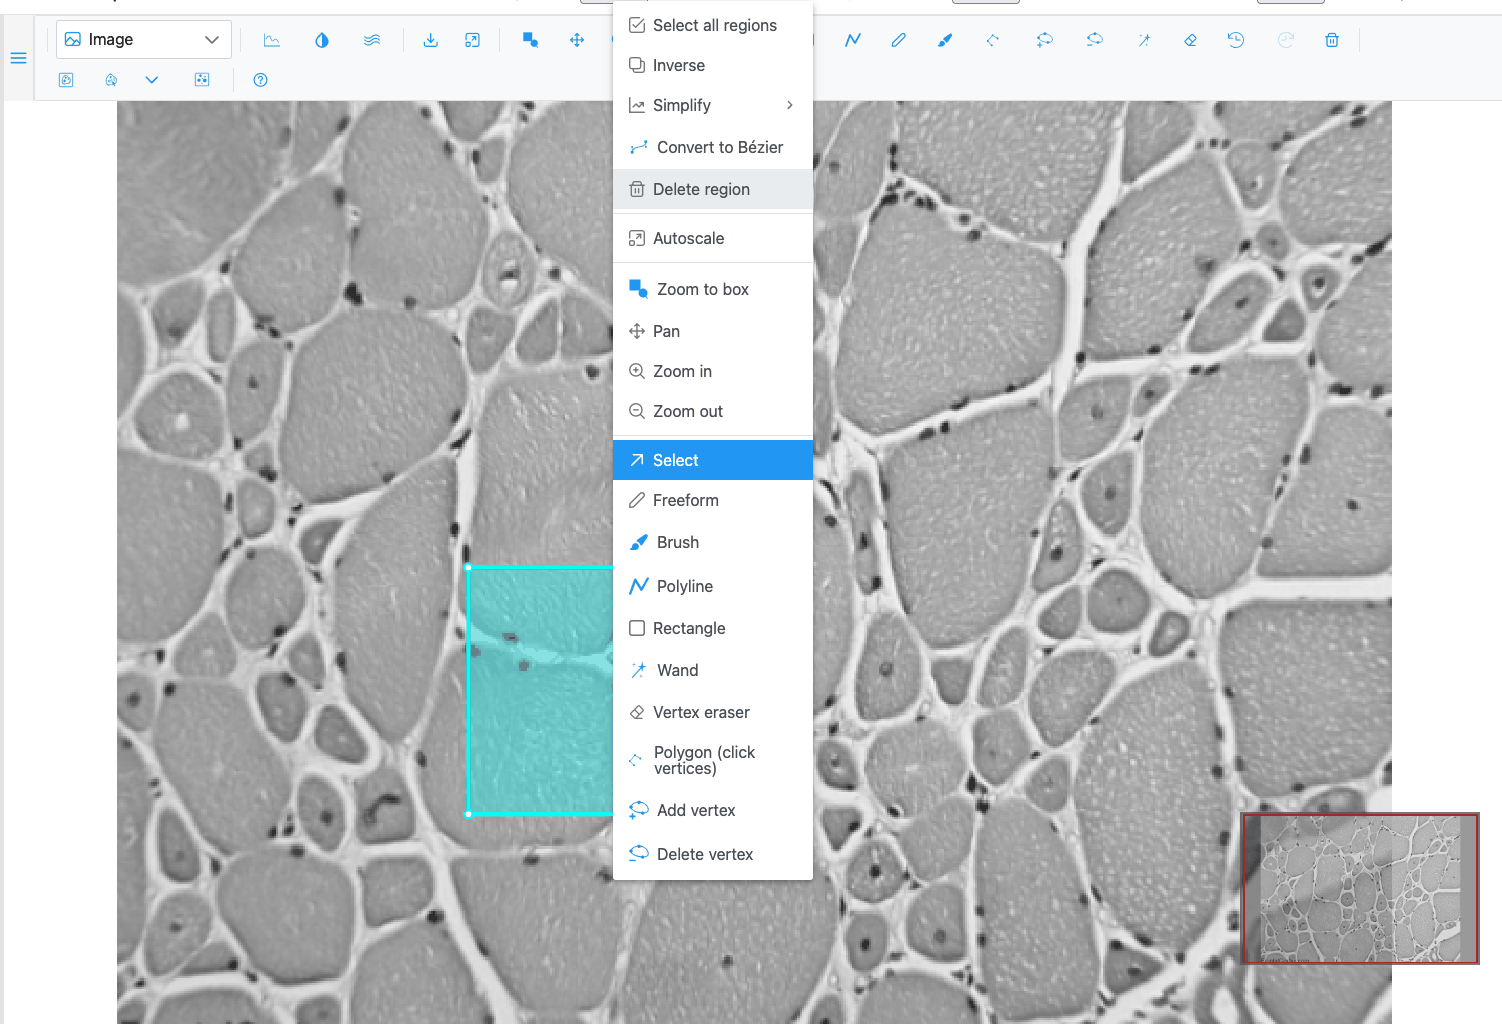
Right-click the image to open a menu with:
- Region actions for the selected regions (when the image has regions): Select all regions, Merge / group, Ungroup, Inverse, Simplify, Convert to Bézier / polygon, Delete region. See Region actions.
- View: Autoscale, Zoom selection (not in the Image view), Zoom to box, Pan, Zoom in, Zoom out.
- Tools: Select, Freeform, Brush, Polyline, Rectangle, Wand, Vertex eraser, and in the Image view Polygon (click vertices), Add vertex, Delete vertex. The active tool is highlighted.
In 3D views the menu lists the camera modes (Zoom, Pan, Orbital rotation, Turntable rotation) and Reset camera.
Download
Download image as PNG saves the view:
| View | What is saved | File name |
|---|---|---|
| Image | The image as shown (zoom, colours, contrast), without regions, minimap or scale bar | <image name>.png |
| Heatmap, Contour | Plotly's rendering of the plot | <image name>.png |
| 3D views and Spatial omics | A screenshot of the canvas | napari-js.png |
To export the full image with the display settings applied, use Export composite (PNG) in Channels & Histogram. To export the regions, see GeoJSON import and export.
Keyboard focus
Shortcuts go to the viewer under the keyboard focus, or else the one the pointer last moved over. They are ignored while you type in a text field. See Keyboard shortcuts.